1. Sign in
- Go to api.lickety.io/portal and enter your email and password.
- Use Forgot your password? if you need to reset.
- Sessions expire after 8 hours of inactivity.
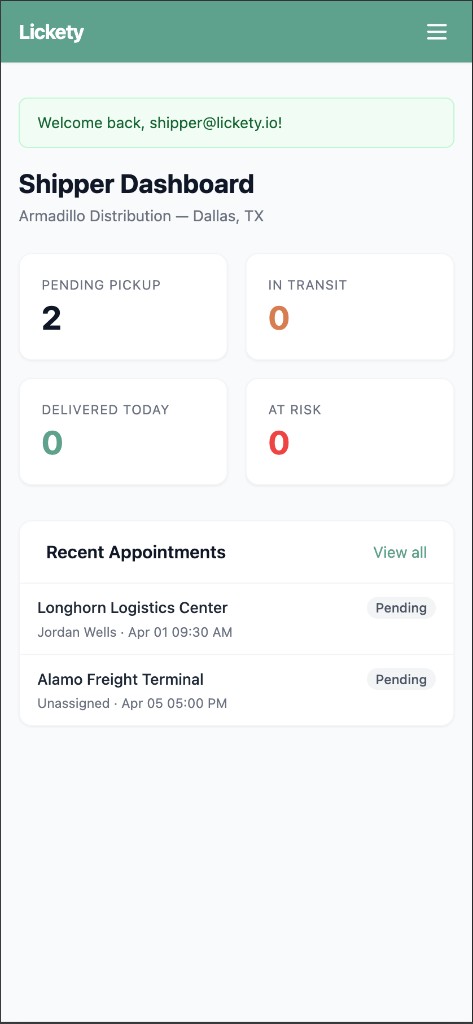
2. Dashboard
Your landing page after login. Shows your company name, location, and four KPI cards:
| Card | What it shows |
|---|---|
| Pending pickup | Appointments at your facility waiting for a driver |
| In transit | Driver has picked up and is en route |
| Delivered today | Completed deliveries today |
| At risk | Pickup or delivery timing may be tight |
Below the cards: Recent Appointments panel with a View all link.
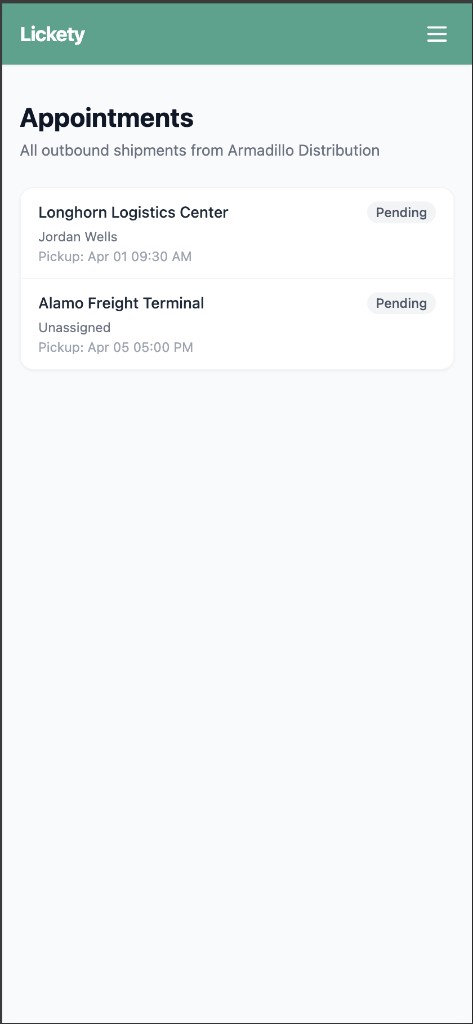
3. Appointments
Click Appointments in the nav (or View all from the dashboard). Full table of outbound shipments from your company: ID, Destination, Driver, Pickup Window, Delivery Window, Status.
Click View → on any row for details.
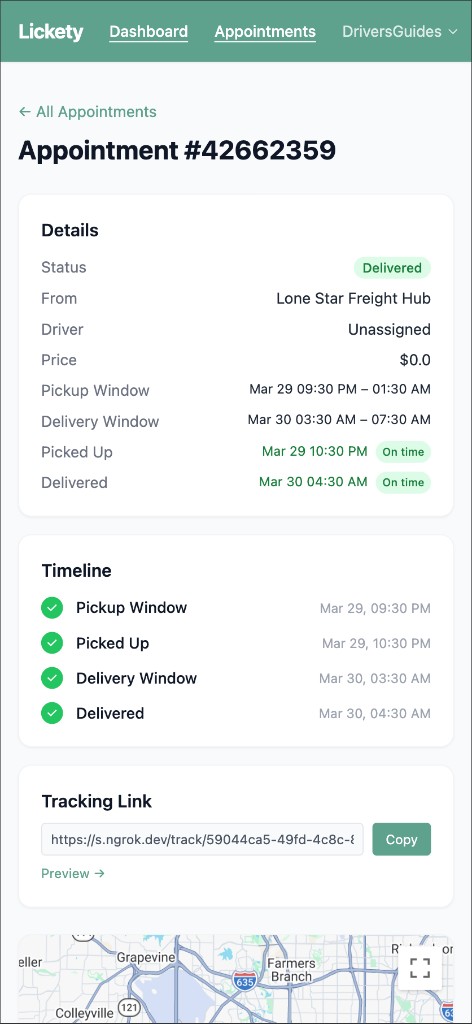
4. Appointment detail
Details section:
- Details card — status, origin (your company), destination, driver, pickup/delivery windows, rate.
- Tracking Link — shareable public URL; click Copy to share, or Open link to preview.
Map section:
- Current Progress — visual origin-to-destination line with in-transit indicator, status text, actual pickup/delivery timestamps.
Action buttons in the top-right of the detail page:
- Edit — change pickup/delivery windows, destination, rate, or freight details. See section 6.
- Cancel — remove the appointment. Only available before pickup is confirmed.
5. Create an outbound load
Click + New Outbound Load from the dashboard or appointments list. Fill in:
- Destination — choose from your company's known receivers.
- Pickup Window — open and close timestamps when the driver should arrive at your facility.
- Delivery Window — open and close timestamps when the driver should arrive at the destination.
- Rate — dollar amount paid to the driver. Drives the Relay payment hold flow.
- Freight details — commodity, weight, pallet count, special instructions.
Click Create. The load appears in your appointments list and becomes claimable by drivers immediately. You can also create loads from the Outbound tab in the mobile app.
6. Edit or cancel an outbound load
From the appointment detail page:
- Edit — opens the form pre-populated with current values. Saved changes propagate to any driver who has claimed the load.
- Cancel — confirms and removes the appointment. Only available before pickup is confirmed.
After delivery is confirmed, edits and cancellations are no longer permitted (audit trail is preserved). Contact a super admin if you need to amend a delivered load.
7. Tracking links
Each appointment has a public tracking URL. Find it on the appointment detail under Shareable Tracking Link. Click Copy to share with your customers or the receiver — no login required for the recipient.
8. Mobile app
The shipper mobile experience mirrors the receiver shell with origin-scoped data:
- Outbound — browse, create, edit, and cancel your outbound loads on the go.
- Dashboard — the same four KPI cards from the web portal.
- Messages — chat with drivers assigned to your loads.
- Profile — account info, company info, settings, logout.
The web portal remains the most efficient surface for bulk actions and detailed reporting, but the mobile app covers full outbound CRUD for shippers on the move. Sign in with the same email and password you use for the portal.
9. Status colors
Driver status updates every ~30 seconds while a load is active.
- Green — on track
On pace for the delivery window.
- Yellow — at risk
Timing may be tight.
- Red — endangered
Driver may miss the window.
- Grey — idle
No active appointment.